|
|
|
This tutorial covers the following sections:
OverviewStarting from version 3.0 ViArt Shop offers an entirely new feature - call center Module. A call center module is used by a store administrator to receive orders from clients via phone (instead of a website). It may be convenient when a customer does not have an access to Internet or does not want to bother himself by placing an order through a website. Back to topGeneral settingsTo set a call center module in your ViArt Shop, please ensure you do the following: 1. Enable 'Creating Orders' option in the Privileges group permissions to view Call center in the Orders menu (in your Admin panel).  2. Navigate to Administration > Orders > Order Profile Page > Predefined fields tab and select options you want to activate for the call center (use call center orders column). 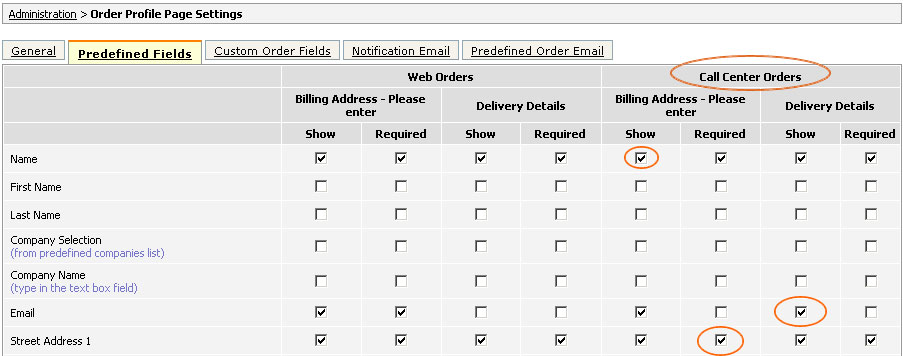 Once this is done press the 'Update' button. The fields you selected will be displayed in the call center orders screen. Back to topConfiguring payment gateway for call centerTo use a call center it is necessary to decide what payment system you would like to use and configure it. Please, follow the below steps to set a payment system. 1. Navigate to Administration > Orders > Payment Systems, make a preferred Payment System active and click on the ‘Edit Page’ link. 2. Enable an option “Use for Call center”. Note: only Advanced Payment Systems (APS) may be used for the call center module. APS systems usually use API source code for supporting services requests. The examples of such systems are: LinkPoint API, Beanstream API, Payoffshore API, PayPal Pro (Direct API), etc. In case the selected Payment system is not advanced you will get the following message: 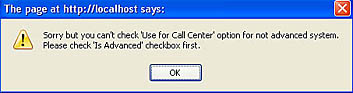 3. To verify whether the selected Payment System is advanced, go to the Edit System Payment page and check your “Is Advanced” checkbox. Enter the required parameters for the selected payment system in the Advanced Parameters section and save the changes. 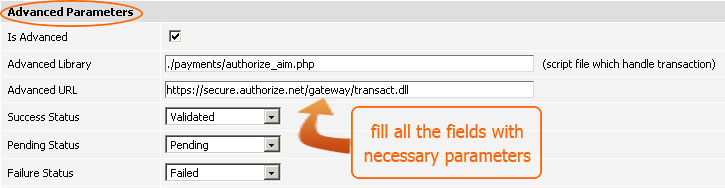 How to make a Personal system advanced so it can work with call centre orders without requesting credit card details
Call center order screen: how to place an orderOnce general settings are done, you can start creating orders. An order is processed in three steps: Step One. Billing address Firstly, enter the client's details. If this is a new customer, fill the fields manually: 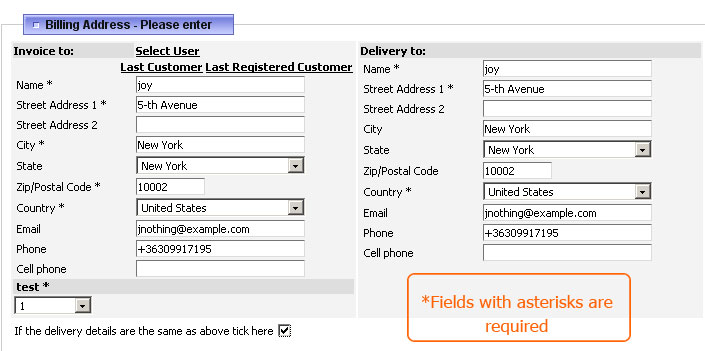 If you already have this client in your database, press a 'Select User' link and select a customer from the list or type a user's name in the search bar. Then press a 'Select' button': 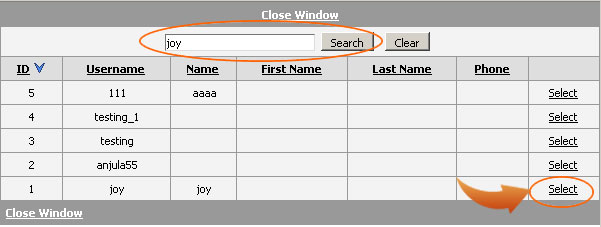 There are two extra options 'Last Customer' and 'Last Registered Customer'. If you press a 'Last Customer' link the billing and delivery fields will be autofilled with the details you've entered for the last client for whom you created an order. If you press a link 'Last Registered Customer' the billing and delivery fields will be autofilled with the details of the newest user registered on the site. In the third column of your call center order you're able to select a status which you want to use for a call center order, i.e. Paid. Step 2. Products Once the delivery details are entered, start adding products to the order. For your convenience there is a link 'Select product'. 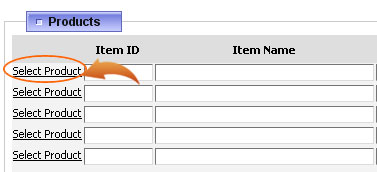 Press the link, enter the product's name in the search bar to find a product you need and then press the select button. 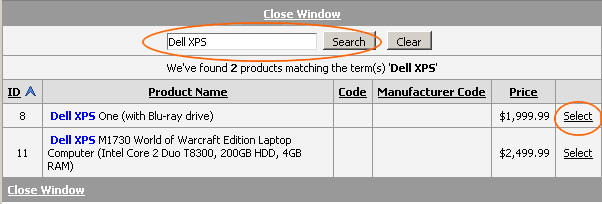 You can select as many products as you want. In addition, you can edit the fields Item ID, Item Name, Code, Manufacturer Code, Qty, Price and delivery cost. 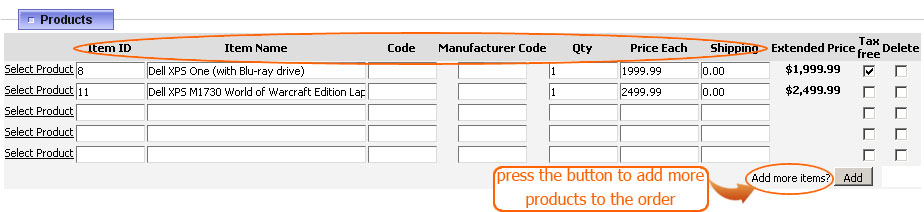 To make a product tax free, select a 'Tax Free' option against each product. In this case a default tax that is set via Tax Rates won't be calculated. Otherwise, a default tax rate (if any) will be applied to the products. 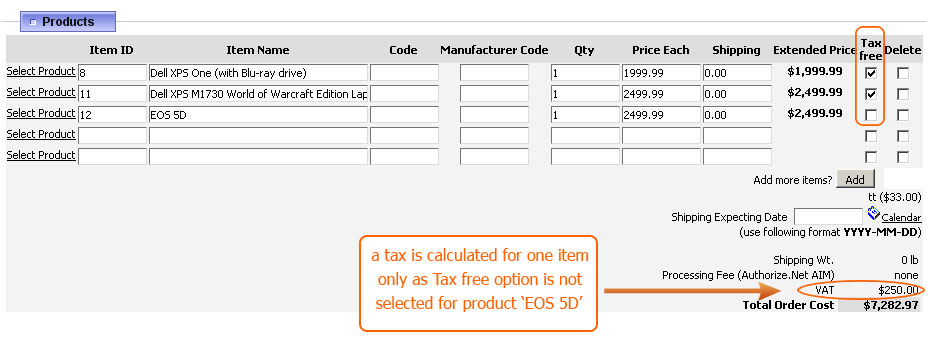 To remove either product, please select a Delete option against a product you want to remove. The page will refresh and the item won't be calculated and added to this call center order. Delivery cost will be automatically calculated each time you add an item to the order. Note: a shipping cost is taken from the shipping methods set at Administration > Products > Shipping Methods. If an option 'Free Shipping' is selected for each specific product (on the product's edit page) then the default delivery cost is not applied. You can also specify a preferred delivery date by pressing a javascript calendar or by entering a date in the textbox 'Shipping Expecting Date. Step 3. Payment Details The last step is to enter client's credit card details. Enter appropriate data in the required fields. When completed click Save&Process button and your order will be automatically added to the Sales/Orders section. 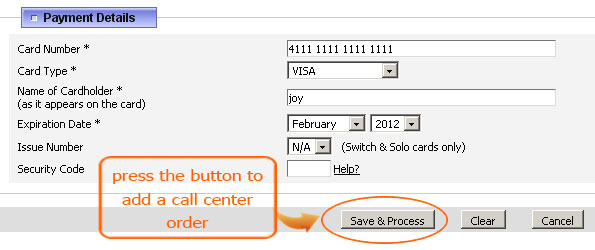 |
|
|

