15.4. Installation procedure
15.4. Installation procedure


|
ViArt installation procedure is rather simple and takes just a few steps.
- Check your server (or local computer) for necessary prerequisites listed in section (see section 72.2.4) .
- Go to http://www.viart.com/Free_Evaluation
and download ViArt Shop Evaluation as Windows executable or as a zip archive pressing the link and saving the files to your computer. Note: tar.gz archive is for Linux systems.
- If you downloaded zip archive, unzip it to some folder and upload all files to your server via any FTP client program (it can be Filezilla, WinSCP or other) to a public or a root folder
(usually, it is called www or httpdocs folder; it may differ depending on your server). See an image for a sample.
Note: Ensure that you upload the 'includes' folder in the Binary mode (is set in your FTP client program), otherwise you may receive a Fatal Error.
- When the files are uploaded, set privileges for the 'Includes folder' to 777 to be able to finish installation. After the installation you can degrade the privileges for the folder to 755.
- Installation requires a DB user to be created. Please, refer to the section (see section 72.2.4) to get information on setting DB.
- Further, open a browser you use and type www.yoursite.com or www.yoursite.com/install.php in the browser's bar (where yoursite.com is the name of your domain name).
Note: if you install ViArt Shop on the local computer, type http://localhost/your_viart_installfolder. If files are uploaded correctly and your server supports necessary prerequisites, a below page opens:
where
- Database Type is a type of DB your server/computer supports: MySQl, Postgre, ODBC.
- Hostname: The Server name where your database resides.
- Database Name / DSN: The name of the database you have created
- Username: A login to your DB user
- Password: A password to your DB user
- Populate DB: Tick this to populate DB tables with data.
- Test Data: Select this option to populate DB with test items.
Clicking on the Next link will commence the database build, and show an install progress counter (see image below)

When the DB is populated, you are redirected to Step 2, where you specify the details for your Admin panel. Please, see the below image for a sample:
where
- Site URL: is the domain name of your site, like: www.yoursite.com
- Administrator Email: the email address you wish site administrator messages to be sent to
- Administrator Login: an Administrator name for logging in to the ViArt Admin Panel.
- Administrator Password: a password for the Administrator to use
- Confirm Password: confirmation of the above password
Further you have to choose your Date and Time display preferences by clicking the Select form list link. See below.
On the next step choose one of the nine default schemes: Default, Classic, Convex,
Curved, Ecommerce, Fashion, Marine, Rainbow and Silver.
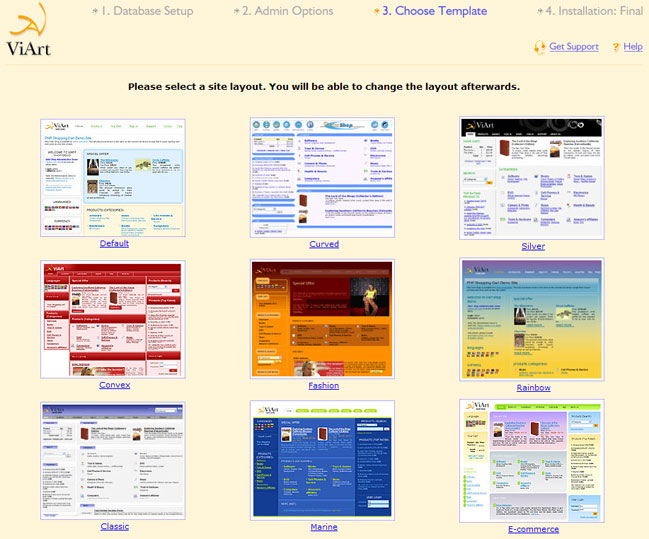
The Template settings can be changed later (see section 73.4.1).
And finally, click the appropriate link:
- Administration URL: Takes you straight to the Admin Panel
- Site Home URL: Takes you to your new ViArt Shop
Uploading shop files with Auto-Uploader
You are welcome to use ViArt Auto-Upload Script to automatically upload files of the shop to your server. To select this option go to: http://www.viart.com/upload_product.php
Fill the necessary fields and press the 'Upload' button. Please, see the below image for a sample.
![]()
An email will be sent to you at the start of the process and when the installation has completed. The whole procedure usually only takes a few minutes. When the uploading is completed, do the above steps to install the shop.
Note: You are welcome to view the flash manual on installation procedure here |
|
|

